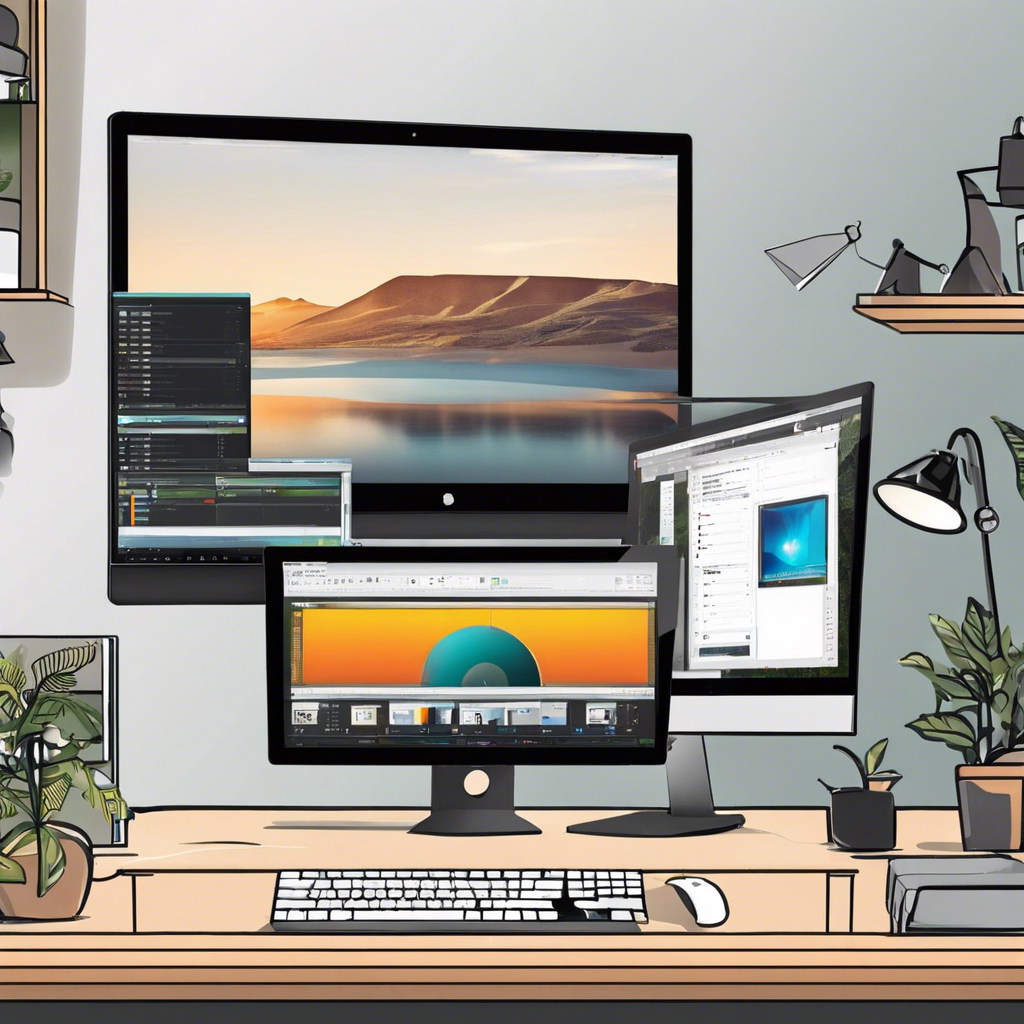
Adding a second monitor to your setup can significantly boost your productivity, especially if you often find yourself switching between different applications or needing more screen space. Whether you’re a designer, programmer, writer, or just someone who wants to enhance their workflow, setting up dual monitors is a simple and effective solution. Here’s a step-advanced guide to help you maximize your productivity by setting up multiple displays.
**Step 1: Check Your Computer’s Capabilities**
First, ensure your computer has the necessary ports and graphics capabilities to support multiple monitors. Most modern laptops and desktops come equipped with at least one HDMI port, DisplayPort, or USB-C port that can be used for connecting external displays. If your computer has only one display output, you might need to invest in a docking station or a USB-C hub with multiple video outputs. Additionally, check your computer’s graphics card or built-in graphics specifications to ensure it supports multiple monitors.
**Step 2: Choose the Right Monitors**
Selecting the appropriate monitors for your dual-monitor setup is crucial. Consider factors such as screen size, resolution, panel type (IPS, VA, or TN), refresh rate, and connectivity options. Ideally, you’ll want monitors with similar specifications to ensure a seamless viewing experience when working across both screens. Make sure the monitors have the necessary input ports that match your computer’s output ports (HDMI, DisplayPort, or USB-C).
**Step 3: Connect the Monitors**
Once you have the necessary equipment, follow these steps to set up your dual monitors:
1. Power off your computer.
2. Connect one monitor to your computer using the appropriate cable (HDMI, DisplayPort, or USB-C). Ensure a secure connection.
3. If you’re using a desktop, connect the second monitor to another available port on your graphics card or motherboard (if it has integrated graphics). For laptops, you may need to use a docking station or USB-C hub to connect the second monitor.
4. Securely attach your monitors to their respective stands or adjust their positions if you prefer to mount them on a dual-monitor stand.
**Step 4: Configure Display Settings**
Now, it’s time to fine-tune your display settings:
1. Power on your computer and allow it to boot into your operating system.
2. Access your display settings. On Windows, right-click on your desktop and select ‘Display settings.’ On macOS, click the Apple menu, select ‘System Preferences,’ and then choose ‘Displays.’
3. Your computer should automatically detect both monitors. Arrange the displays to reflect your physical setup, ensuring the primary monitor is correctly positioned. You can do this by dragging the monitor icons in the display settings.
4. Set your desired resolution for each monitor. Matching resolutions on both screens will provide a consistent visual experience.
5. Adjust other settings such as brightness, color profile, and scaling to suit your preferences.
**Step 5: Optimize Your Workspace**
A well-organized workspace is essential for productivity:
– Position your monitors side by side to create a seamless visual field. Ensure they are at eye level or slightly below to avoid neck strain.
– Use monitor arms or stands that allow you to adjust the height, tilt, and swivel of each display for optimal ergonomics.
– Keep your keyboard and mouse within easy reach and ensure you have sufficient desk space to work comfortably.
– Consider using monitor-specific accessories like monitor light bars or monitor risers to enhance your setup further.
**Step 6: Customize Your Workflow**
Now that your dual-monitor setup is complete, customize your workflow to take full advantage of the additional screen real estate:
– Utilize keyboard shortcuts or a third-party app to move windows and applications between monitors effortlessly.
– Dedicate one monitor for your main work area and use the other for reference material, communication apps, or tool palettes.
– Explore split-screen modes or window management tools to efficiently organize multiple windows on each display.
– Customize your desktop wallpaper or themes to create a visually cohesive setup.
**Step 7: Regularly Review and Adjust**
As you become accustomed to your dual-monitor setup, regularly evaluate your workflow and make adjustments:
– Experiment with different monitor arrangements to find the most comfortable and productive setup.
– Keep your desktops tidy by organizing files and folders and consider using virtual desktops or workspaces for enhanced organization.
– Update your display settings if you change monitor resolutions or aspect ratios.
Setting up dual monitors is an excellent way to elevate your productivity and create a more immersive computing experience. By following these steps and customizing your setup to your needs, you’ll be able to work more efficiently and effectively, whether you’re tackling creative projects or managing multiple tasks simultaneously.
